
How you wash your car can determine for how long you can maintain your vehicle’s appearance looking new. Regular use makes a car dirty, and if it doesn’t get proper washing, your new car could look “used” in weeks. Nobody should have to make new-car payments on a car that looks used.
This blog presents proper washing techniques to keep your car looking new. We’ll cover everything from the tools and solutions you will need to a step-by-step guide to washing your car.
Car Washing Theory – Remove Loose Dirt
The car wash routine largely determines the swirl marks and scratches you see on car paint and fading on trim.
The typical home car wash looks something like this:
- Get a bucket
- Add water, dish soap, rags, t shirts, or other towel
- Hose down the entire car
- Wipe down the car from the top down using soapy rag
- Rinse and reload rag in soapy-water bucket, as needed
- Hose down car
- Dry car with bath towel
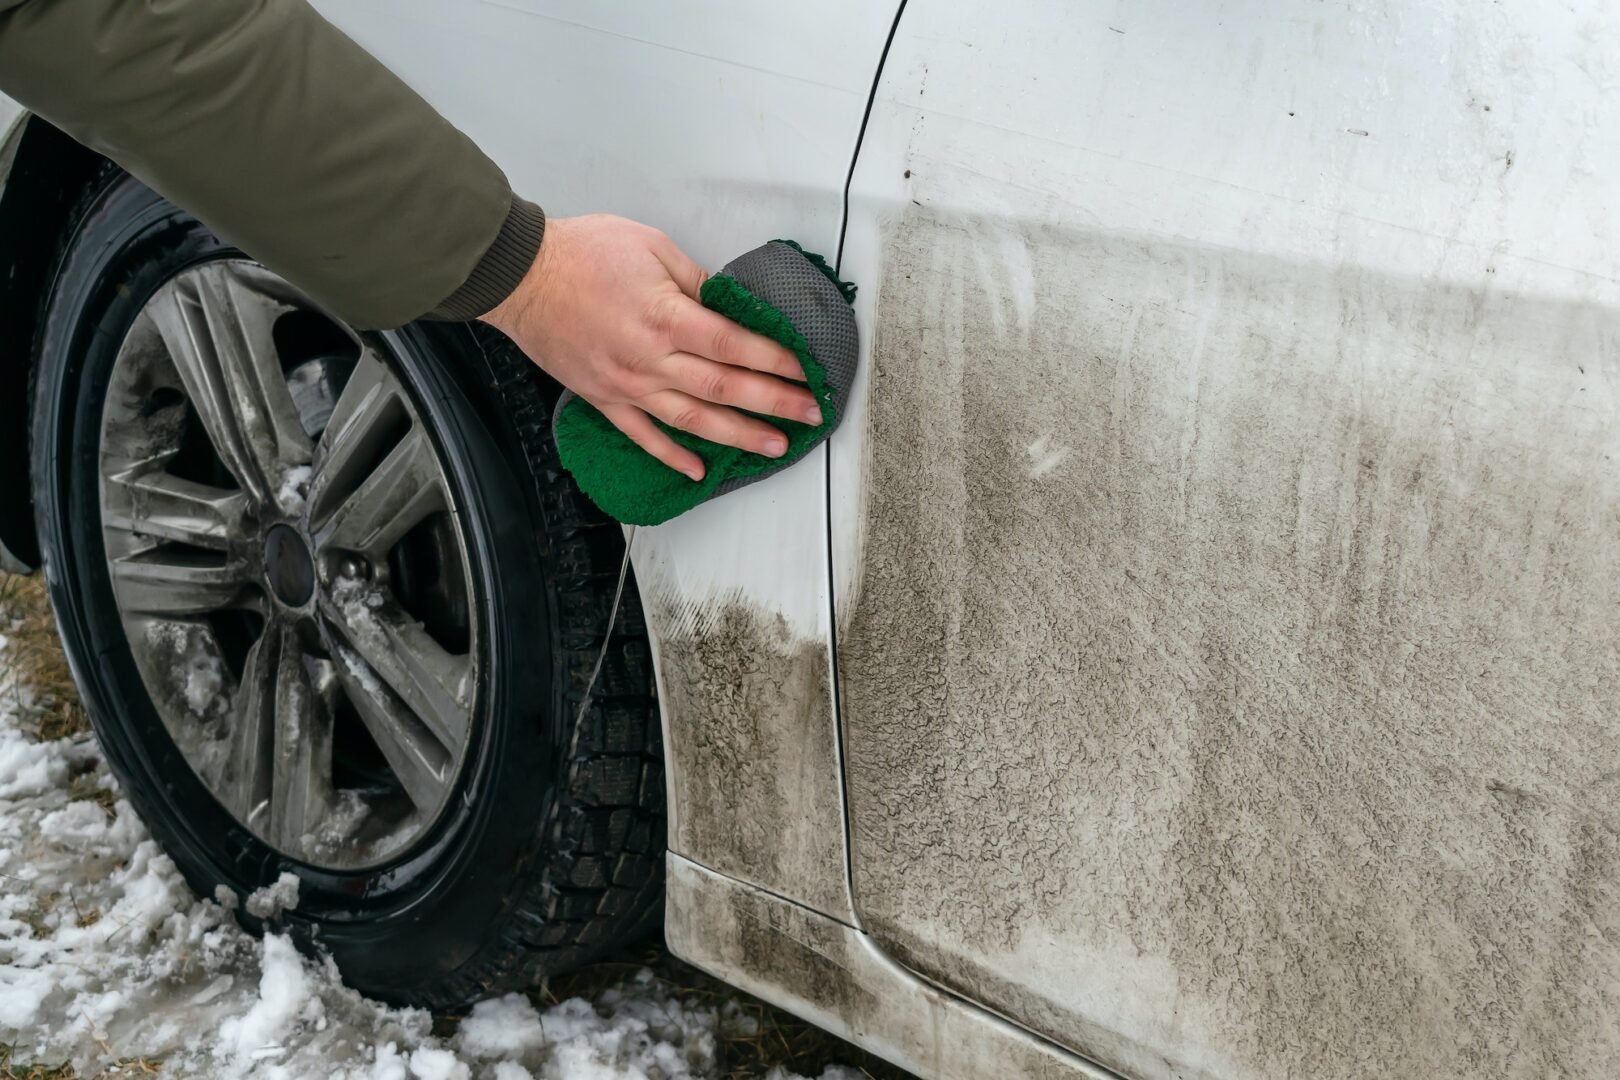
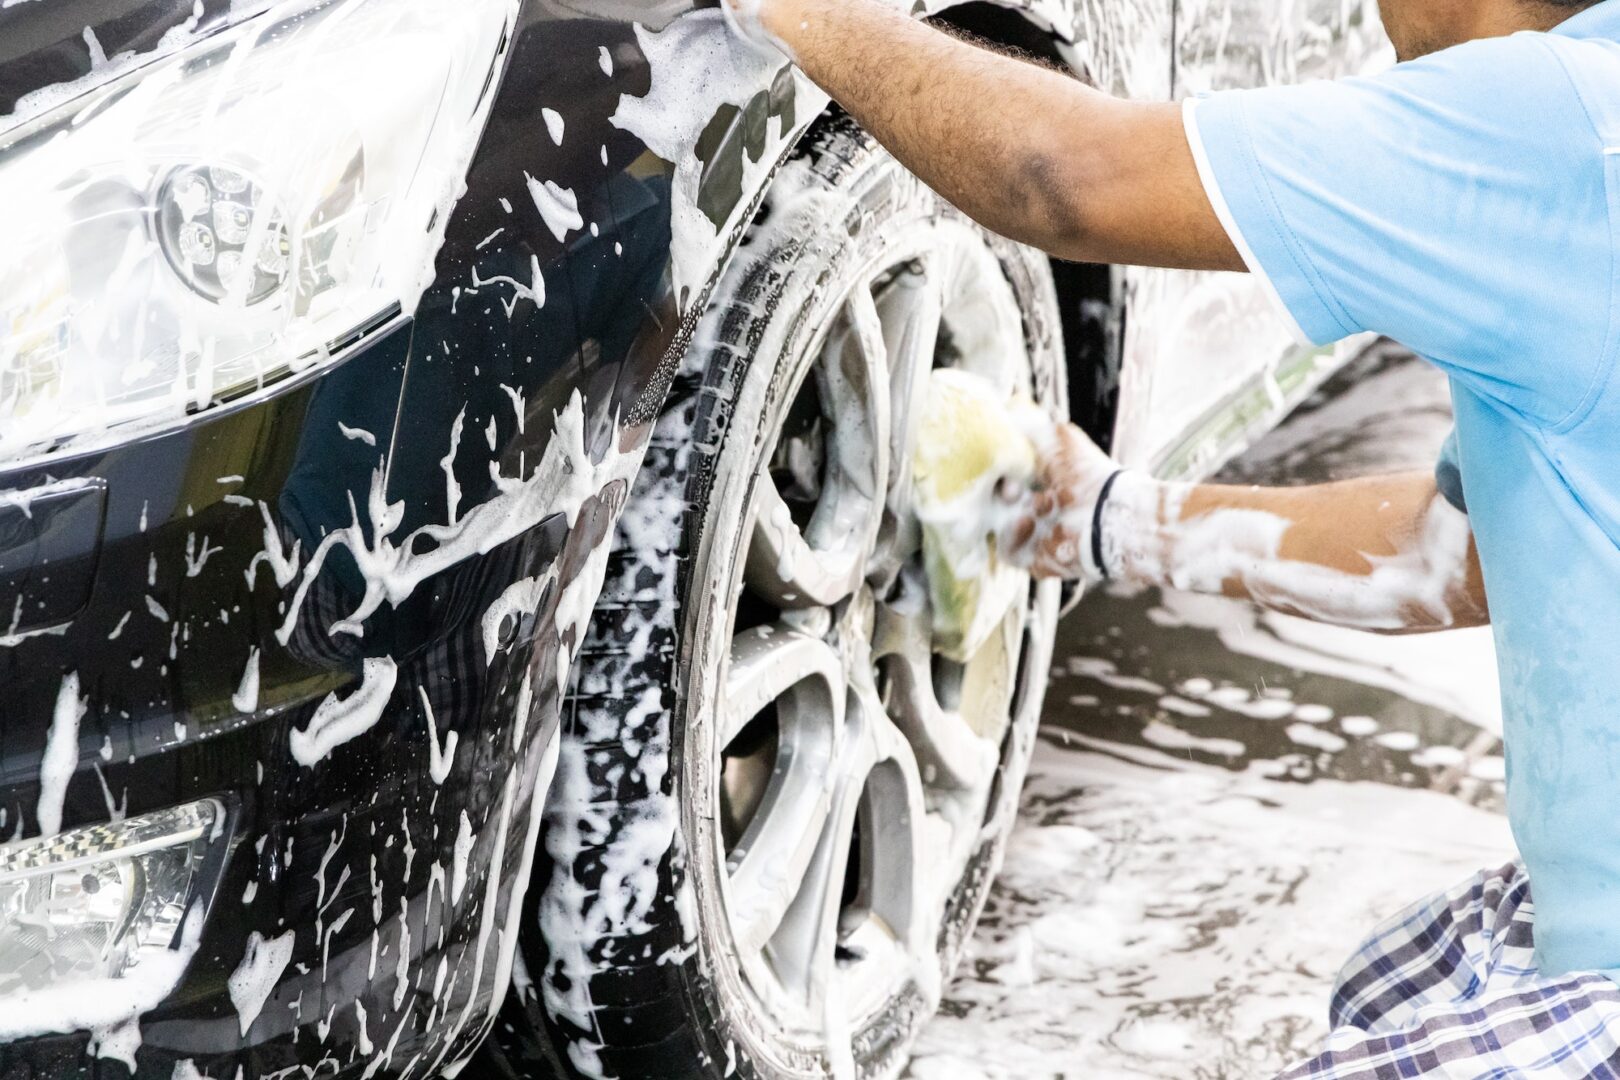
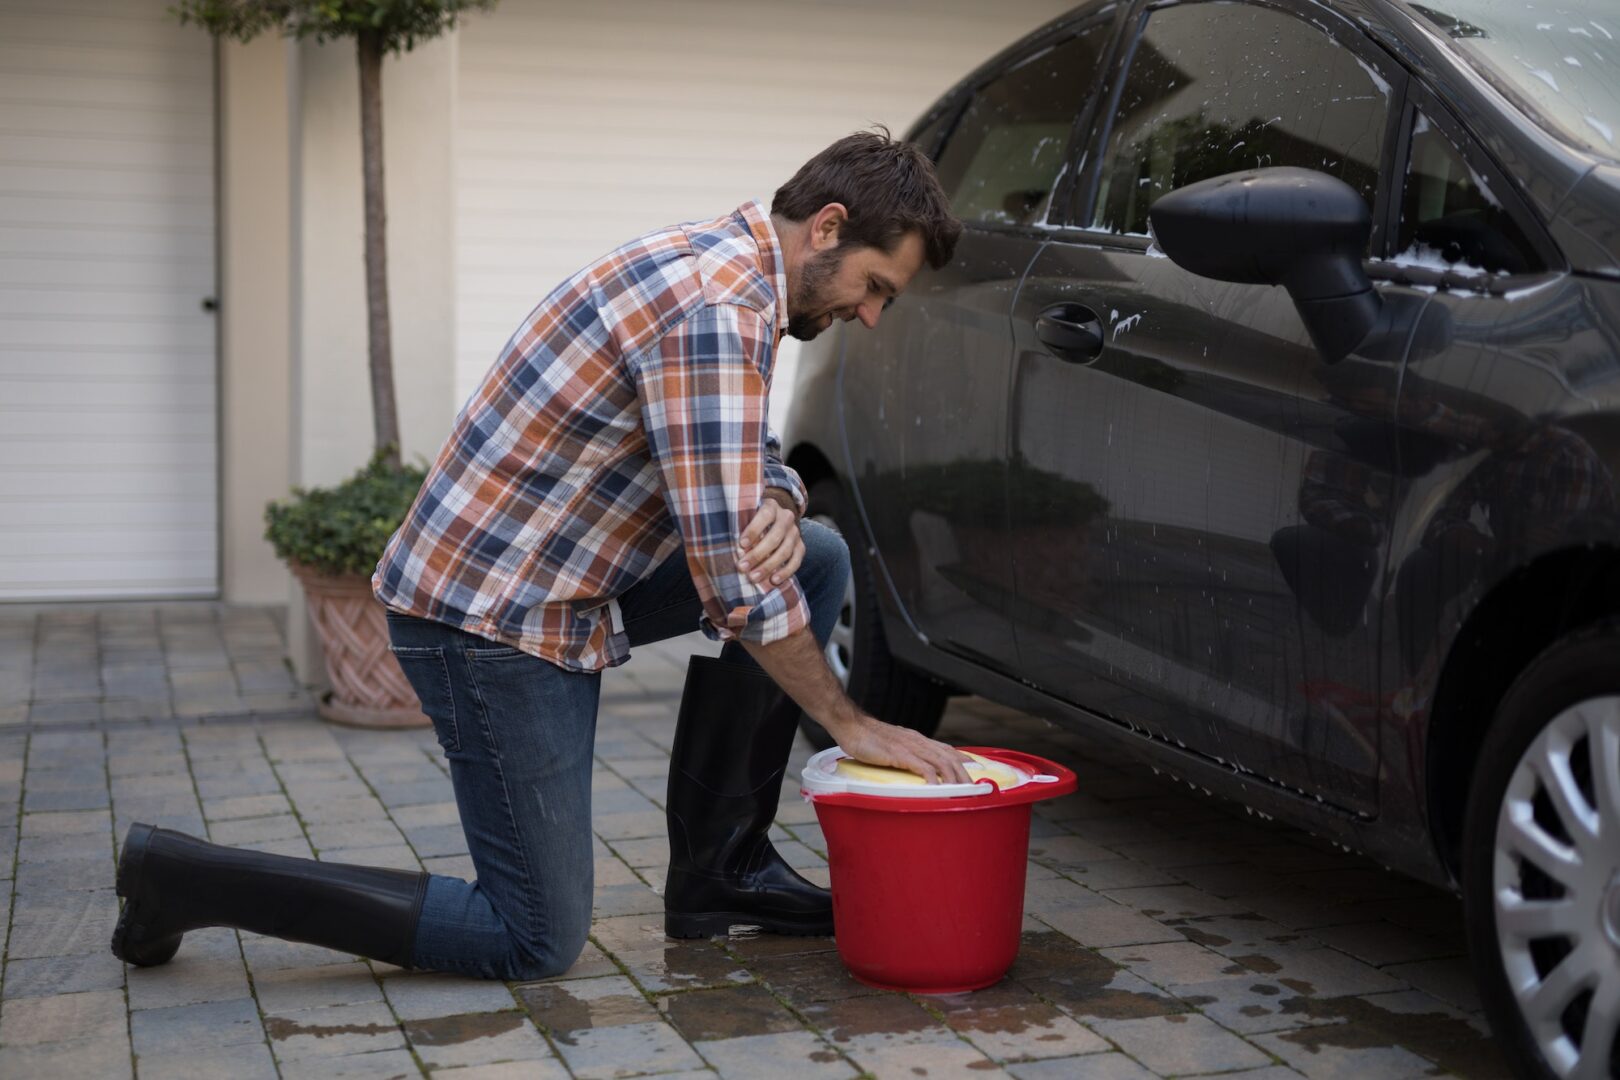
The problem is that most people wipe their dirty car panels with a soapy rag and then return that now contaminated rag to the just fresh, sudsy water. This means that regardless of how many times you go for a rinse, from that point forward, they clean their vehicle with an unclean mitt and gritty soap solution.
Individuals who use a grime-filled mitt to wash their car—not the circular motions—usually cause swirls in car paint. This is because dirt and grit become trapped between your mitt and the surface of your vehicle while you’re washing it, resulting in the swirl marks we see.
When washing a car while trying to preserve its showroom sheen, it is important to rinse away any loose dirt and debris before beginning the hand washing process. This helps avoid grinding anything into the paint while cleaning it, as well as help keep the mitt and water free of grit.
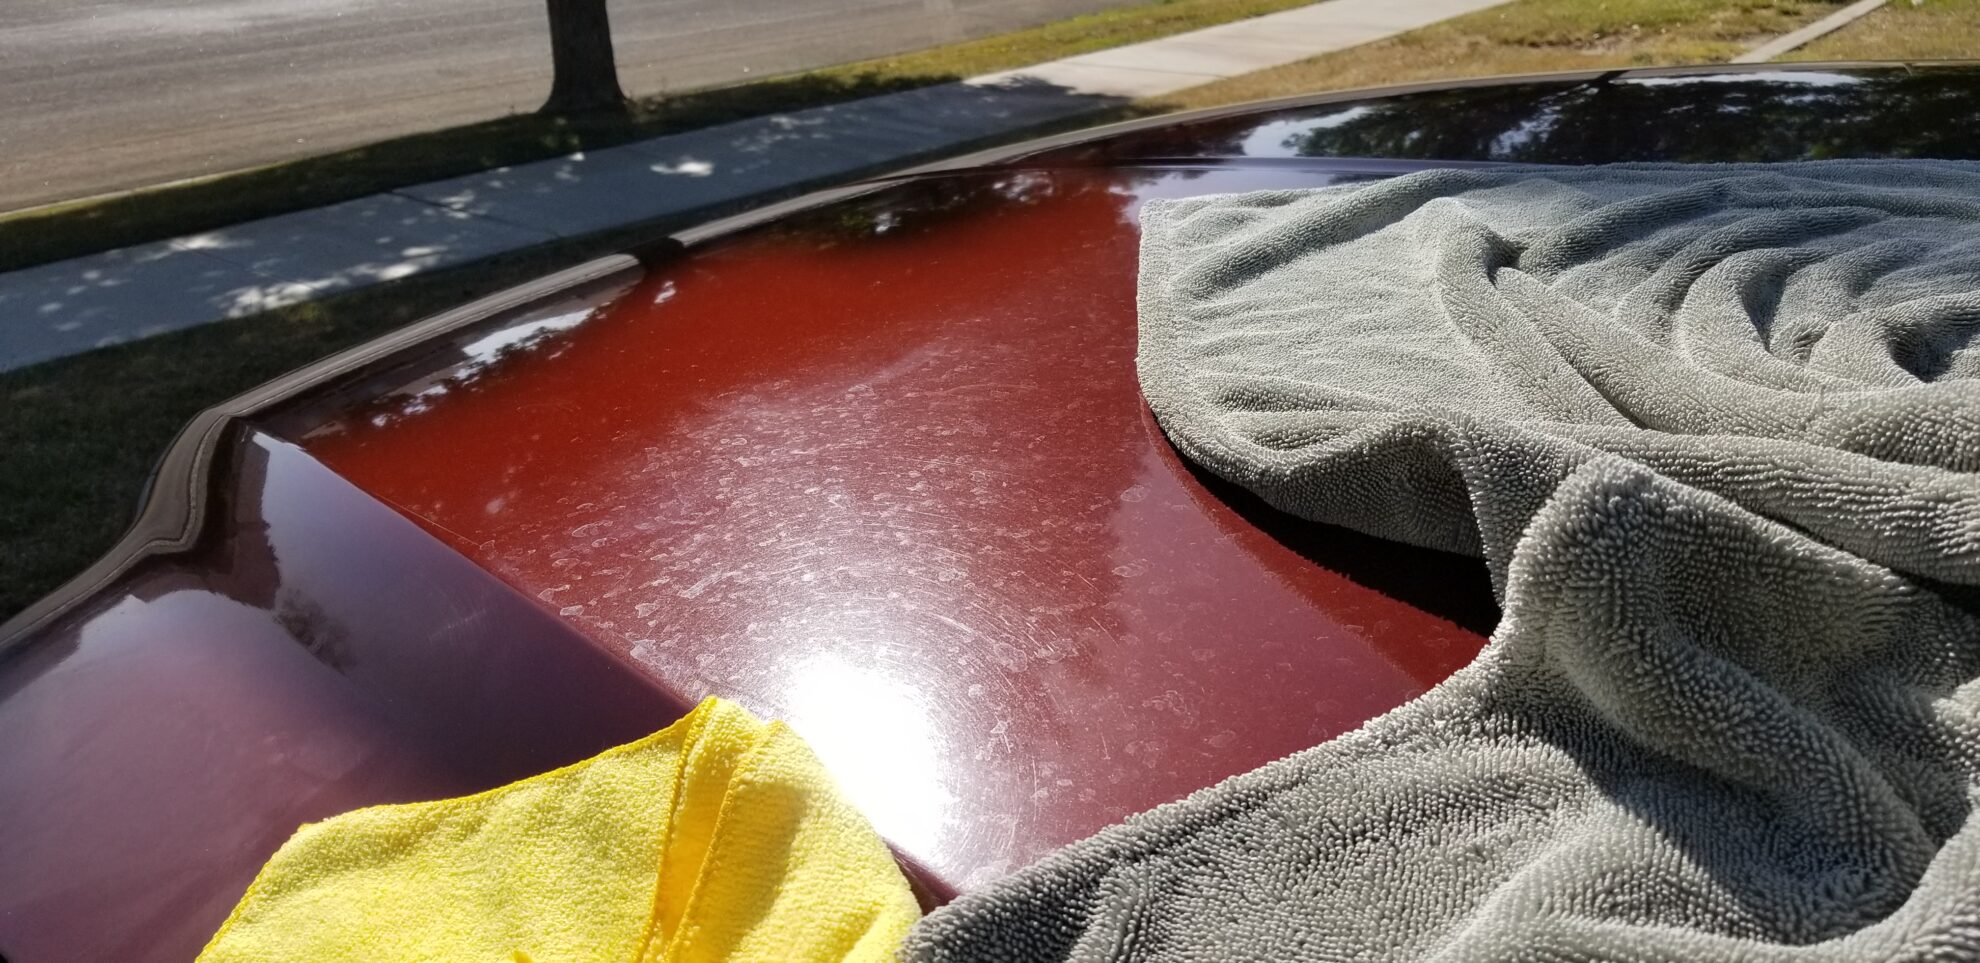
Using a bath towel or other terry cloth towel to dry your car will also cause micro-marring and swirl marks.
Also, dish soap is a bad idea to wash your car. It weakens or removes any potential wax or sealants, fades and dries out plastic trim, and may even degrade paint.
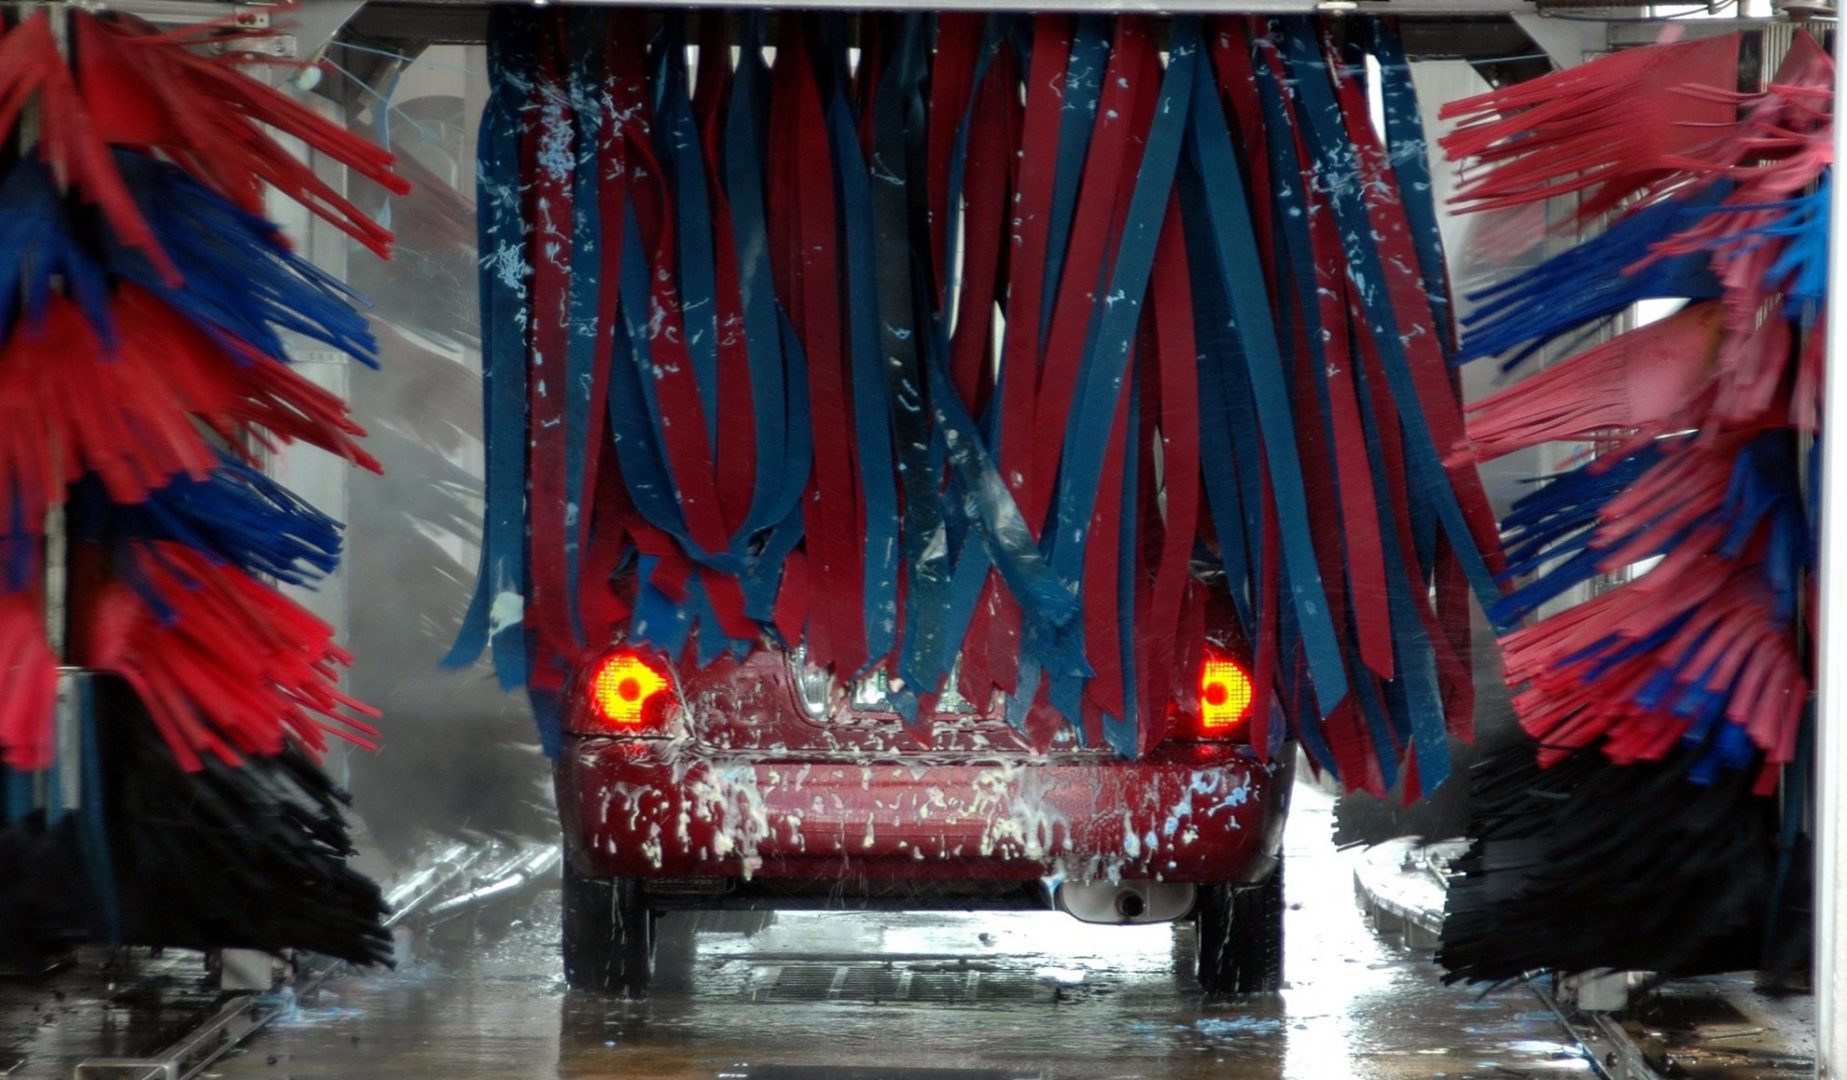
Most people know automatic car washes are a strict no-no if they want to keep their new car shine. But, corner hand car washes, too, often mar paint and fade trim. They too often use overly harsh chemicals, and rough and gritty washing and drying media. Even at the best commercial hand car washes, much of their staff is uncaring, over-worked, and underpaid. An automatic car wash is often worse and can make a new car look used after the first pass, worn after a few dozen.
Although we have experimented with different methods, this blogger’s mobile car detailing service in Los Angeles CA keeps clients’ cars looking new by following the guidelines we present below. If you follow this routine when washing your car, you too should be able to keep your car looking new. If you have questions, thoughts, or suggestions, please comment below, or contact us.
The Tools You Will Need
While you will need the right equipment to wash your car to keep it looking new, most of these tools should outlast the car. The tools we present here are the ones we use to keep our clients’ cars looking new. Affiliate links to the tools and solutions we mention in this blog and use on clients’ cars are at the end of this post.
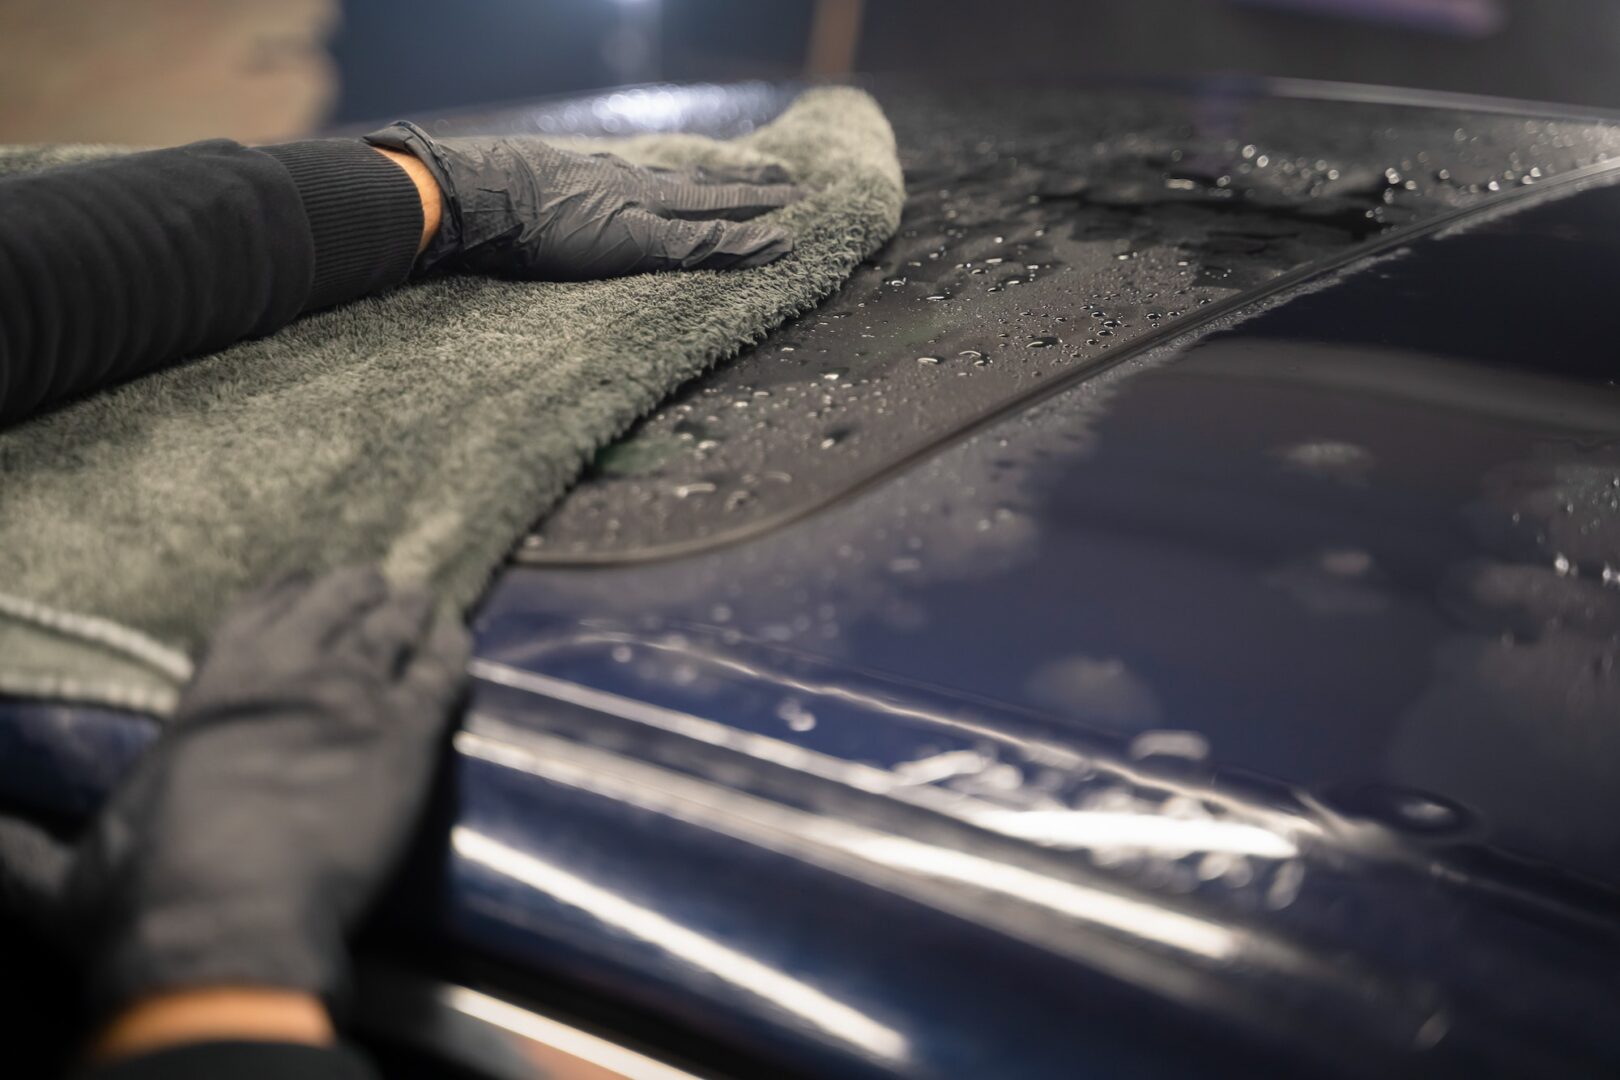
Microfiber Towels

To wash a car properly requires several high-quality microfiber towels. You don’t want to skimp here. For your car washing routine, ideally you will have at least 10 plush microfiber towels, 10 general purpose towels, 10 glass towels, and two drying towels. You will also want to wash all of your microfiber towels and mitts separately, in cold water, using a free & clear liquid laundry detergent, and dry them in low- or no-heat without dryer sheets. Don’t use terry cloth, t shirts, or other low-quality rags.
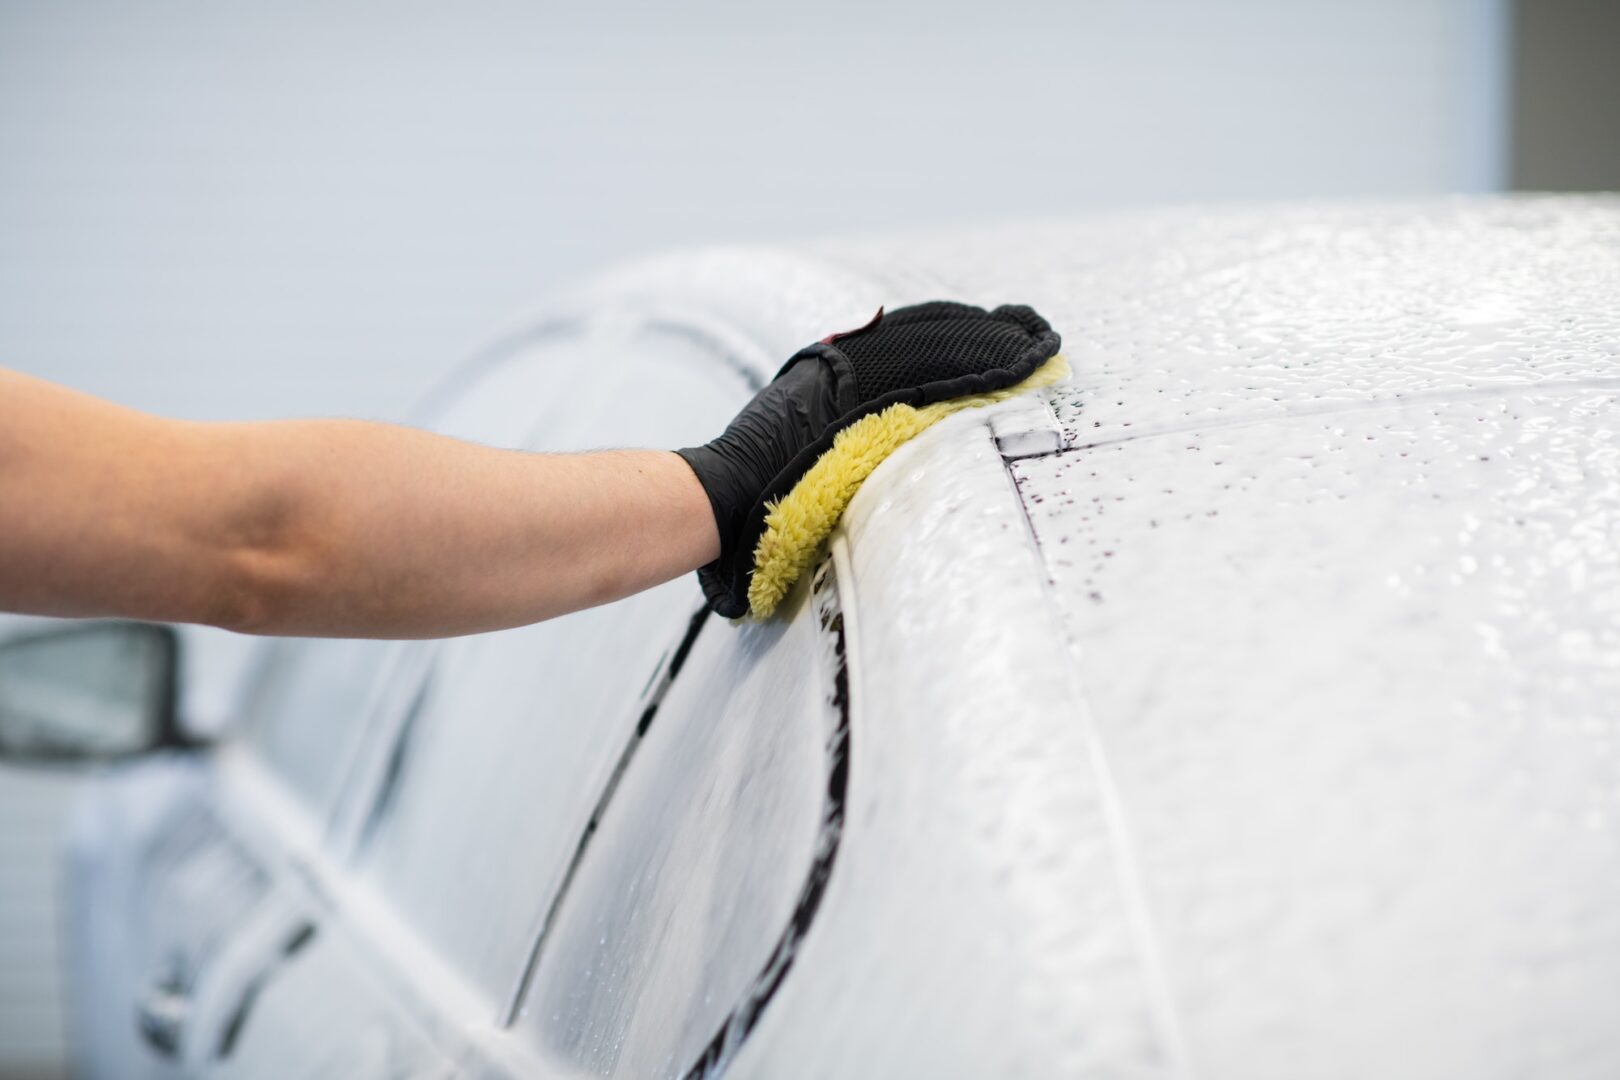
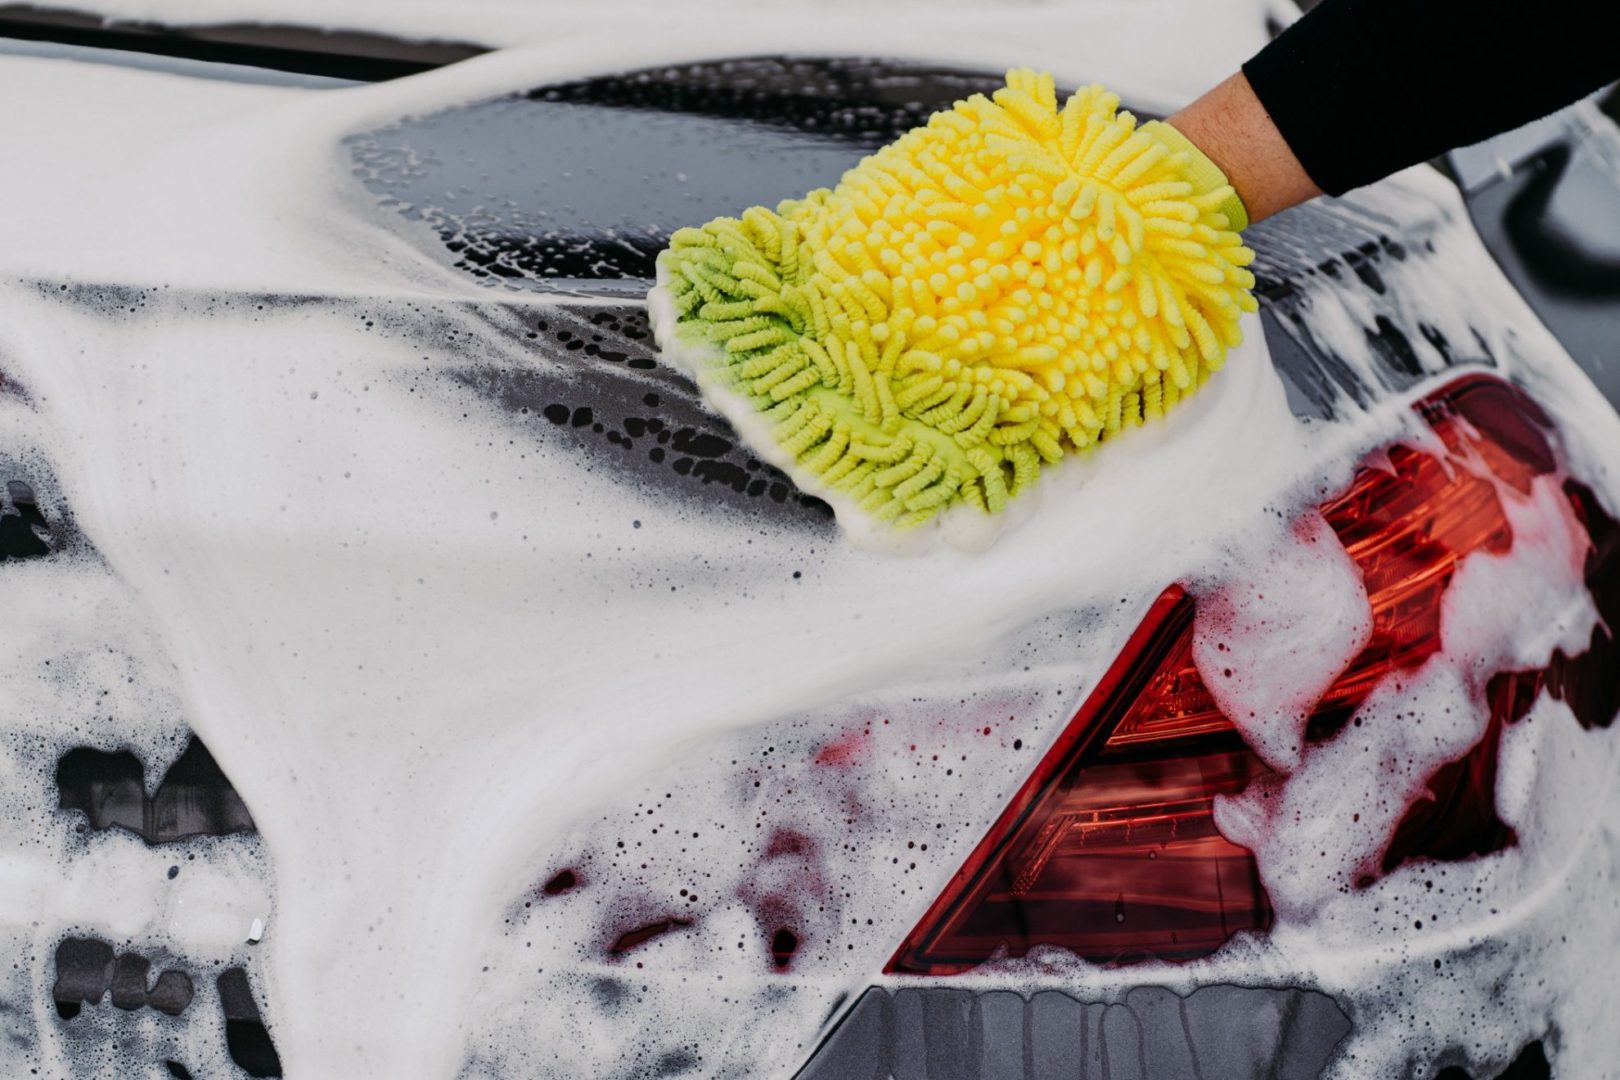
Microfiber Mitts or Pads (Wash Media)
Similarly, you will need at least one but ideally 10 or more high-quality microfiber mitts or pads (wash media). We use both mitts and wash pads, but are favoring pads. Either works well.
Buckets, Grit Guard
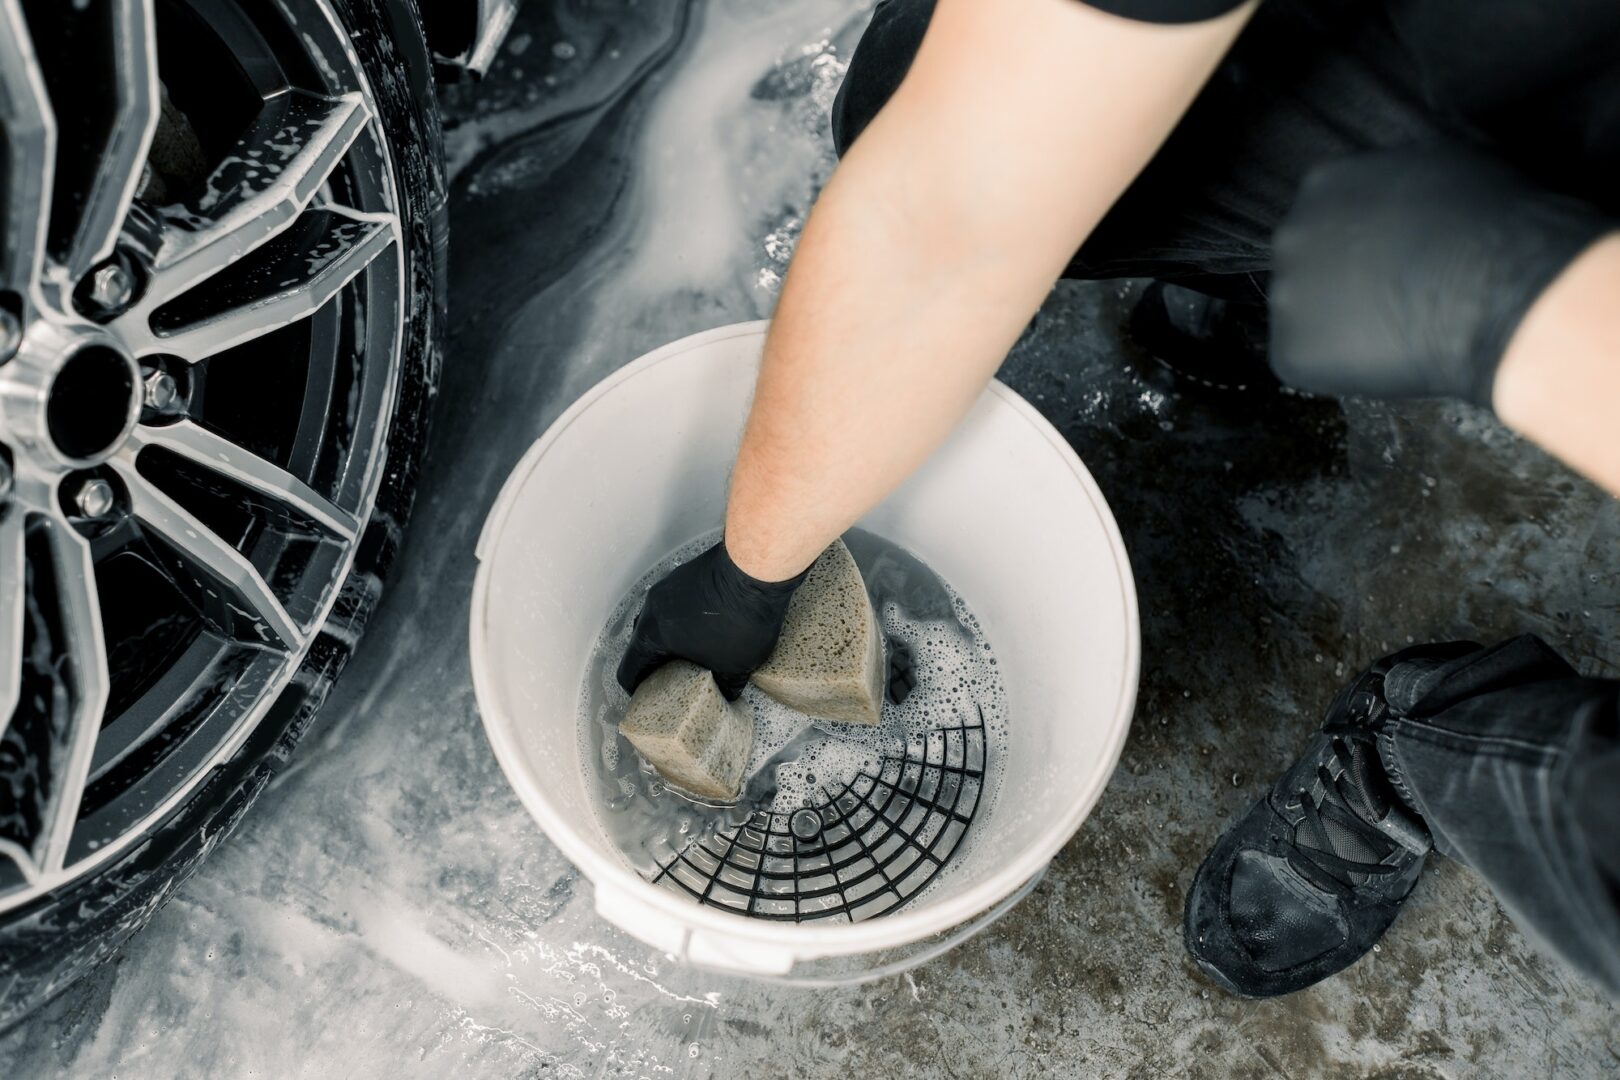
Three 5-gallon buckets. Our mobile detailing service uses Home-Depot buckets, but any brand will work. One bucket is for your car wash solution. The second bucket is for your wheel brush. The third bucket is your rinse bucket if you’re using only one wash pad or your dirty towels bucket if you’re using multiple wash pads or towels.
Get one Grit Guard if you’re using multiple microfiber wash towels or pads, or three Grit Guards if you’re only using one wash pad.
Have a water hose to connect running water to your power washer. If you don’t have a pressure washer, get a spray gun for your water hose to clean your car.
Water Hose and Pressure Washer

A pressure washer will help you get the best results. However, beware of using too strong of a power washer. Most car detailing professionals use nothing stronger than 2,000 psi. This car detailer’s company fields 1,600 psi power washers with 40-degree nozzles. These are strong-enough to blast dirt off a car but not to cause damage.
Spray Bottles
When buying professional-grade car detailing chemicals to wash a car, you often need 32 oz spray bottles to dilute and dispense.
Car Wash Brushes
You need brushes dedicated to tire and wheels cleaning to wash your car. We use and recommend two types of wheel brushes: microfiber or split nylon. The microfiber brushes are our favorite. They don’t scratch, and work well on brake dust when paired with the right wheel cleaner. The nylon brush is more effective with wire wheels, wheels with narrower spokes, and those with big brake rotors. A dedicated tire brush is also ideal. We use a stiff brush with natural fibers that don’t scratch the tires. You may also want a soft detailers brush to periodically agitate and remove all the dirt from your car’s grills and badges.
Water Deionizer
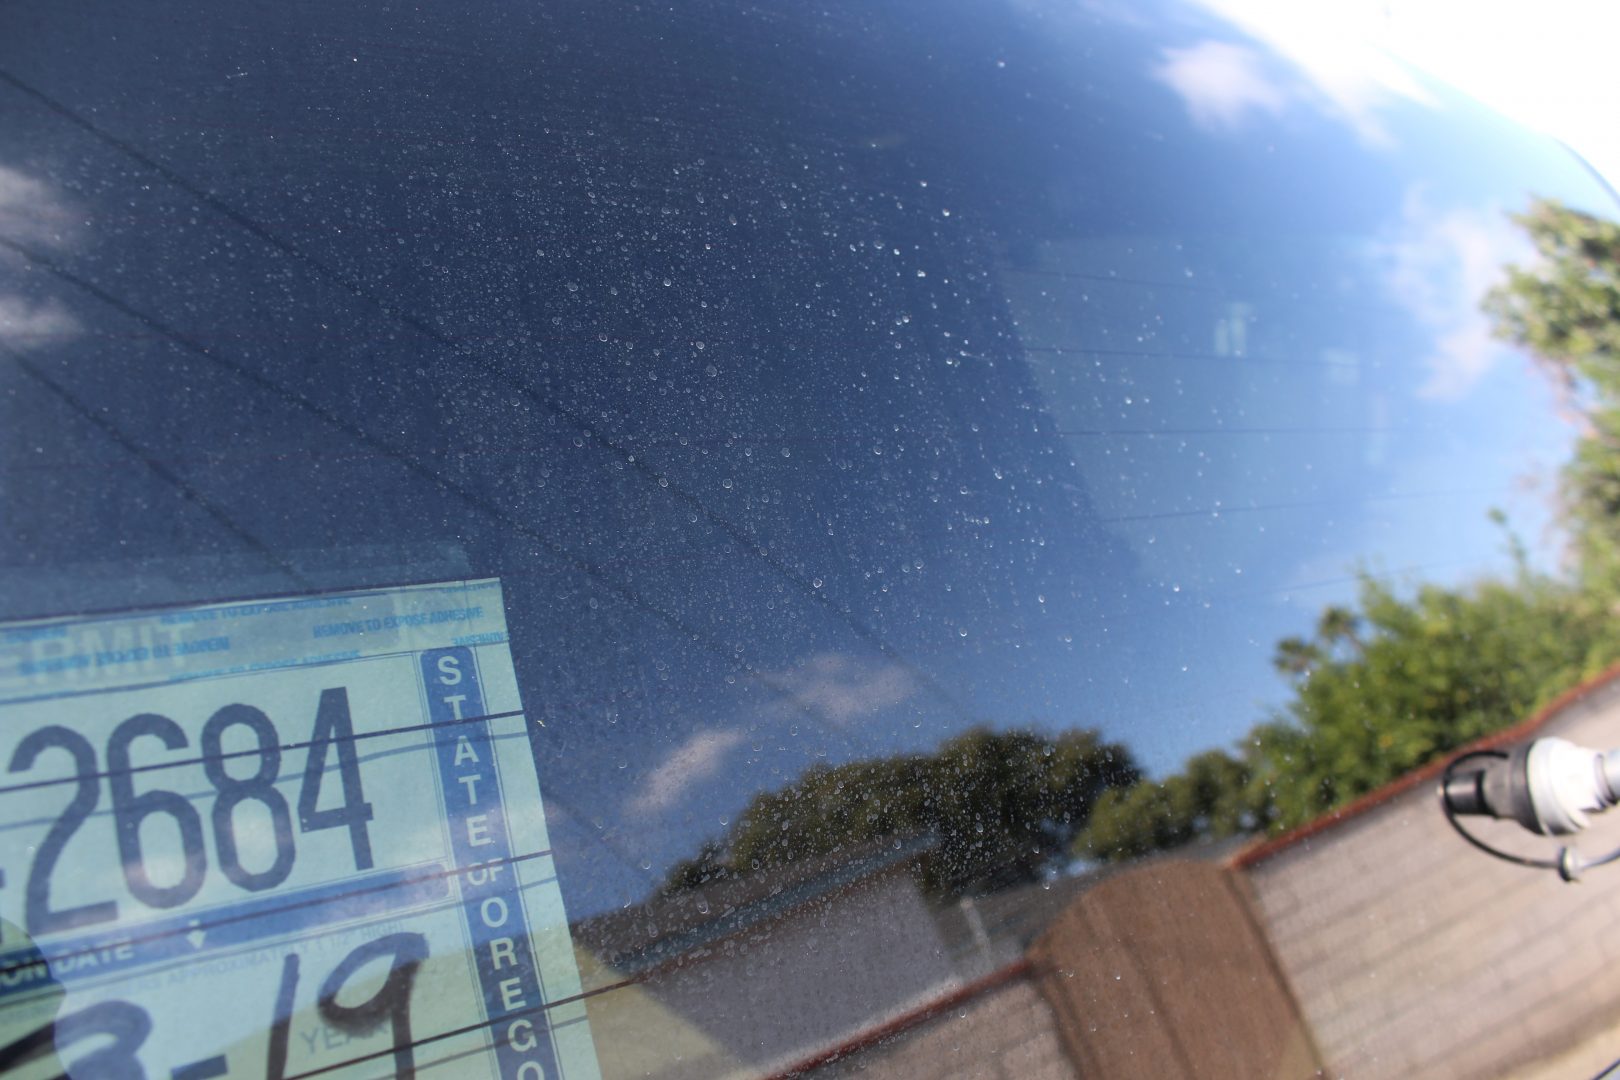
In Los Angeles, and many other parts of the country, we have terribly hard water. It is common for us to measure readings of 550+ ppm of total dissolved solids (TDS) in the city’s tap water. When you wash a car using the city’s water, you may get hard water spots on your vehicle’s paint, trim, and glass. Left untreated, these water spots can etch-in and cause permanent damage. Water deionizers, like the type we field, are filters that neutralize and remove these dissolved solids, making the processed water incapable of causing water spots. This is a very effective car washing tool, but optional.
Leaf Blower
Although optional, a leaf blower can help you remove loose debris from the car, and help you dry it.
The Car Wash Solutions You Will Need
Car Wash Solution
A high-quality car wash soap safely breaks down road grime and other contaminants from your car’s paint and provides the needed lubricity to remove dirt during washing safely. Most pH neutral high-quality car wash soap works well. But, get a specific car shampoo if your car has matte paint, or one that may pair with your sealant or ceramic coating. The shampoos listed at the end of this blog are the ones we use on our clients’ cars. Don’t use dish soap to wash your car, as dish soap can fade your car’s trim, degrade waxes and sealants, and dull the paint.
Paint Sealants – Wax
Paint sealants and synthetic waxes are key to keeping your vehicle’s paint looking new. Waxing your car protects it from water spots, acid rain, bird droppings, and other chemical contaminants. Good paint sealants also help you keep your car clean as dirt and debris are less likely to cling to your car, and the dirt rinses off more easily with proper washing. Choose a sealant specific to your type of paint: glossy, matte, wrapped. And while there are longer-lasting sealants than the ones we list below, we selected these because we successfully use them professionally, their protection performance is excellent when used as described below, and they are easy to apply, especially when compared to their longer-lasting variants.
Bug & Tar Remover

Like the name suggests, bug and tar removers help you safely remove bugs & tar. You will want to purchase a remover from a reputable company and use it according to instructions. The one we recommend below comes is a spray bottle and dispenses as a thick foam that you spray onto the bugs or tar. You wait the prescribed time, during which you can see the solution dissolving the unwanted material off of your paint, which you then power rinse away.
Trim & Tire Dressing
You will also need a good trim and tire dressing. This not only keeps your trim and tires looking new, it also protects them from UV damage. Both of the solutions presented below are effective, though we use the professional-grade version below, as this allows us to dial-in the level of shine our client prefers by modifying the dilution ratio. Our typical dilution ratio is 4:1 (four parts water to each part of full-strength dressing; so, for instance, 24 oz of water mixed with 6 oz of dressing solution in a 32 oz spray bottle). If you want shinier results, you may use more dressing solution per unit of water (up to using the dressing at full strength for maximum shine). But beware that too much dressing sometimes attracts dirt.
Degreaser
A degreaser helps you remove road grime from behind wheel wells, bugs & tar, and other stubborn grit from your car. Purchase a high-quality degreaser with its accompanying 32 oz spray bottle, dilute the solutions to about 10:1, that is 10 oz of water for every ounce of degreaser, or about 29 oz of water to 3 oz degreaser in a 32 oz spray bottle. Do not let the degreaser dry on the car; rinse thoroughly.
Wheel & Tire Cleaner
Wheel and tire cleaners safely dissolve brake dust and help you keep your wheels and tires looking new. Use a wheel and tire cleaner that is strong-enough to remove the brake dust, but not so strong as to cause damage to your wheels, tires, or brake or suspension components. Note, slight oxidation of the wheel rotor or disc is normal during the use of wheel cleaners. This oxidation on the disc will disappear after the first use of the brakes. The wheel and tire cleaner suggested below is safe on most wheels, but please read the label.
Rinseless Wash Solution
Although we use regular car shampoo when we wash a car, we recommend rinseless wash solution for various steps. For instance, we use it in the place of glass cleaner while still achieving a streak free finish. If you decide to use the rinseless wash solution, buy it and a corresponding 32 oz bottle for dilution. Dilute according to instructions, or about one capful of rinseless wash solution per 32 oz of distilled water.
Drying-Aid
If you live in an area with hard water and are not using a water deionizer during the car wash, you will want a drying-aid spray wax that helps to eliminate the possibility of water spots. You will dilute the recommended drying aid 10:1, like the above, and spray this liberally either over the soapy car or right before its final rinse. The final rinse then activates this wax, makes the water bead off the car, and prevents water spots from forming, giving you extra time for drying.
Other Car Washing Considerations
Avoid Direct Sunlight

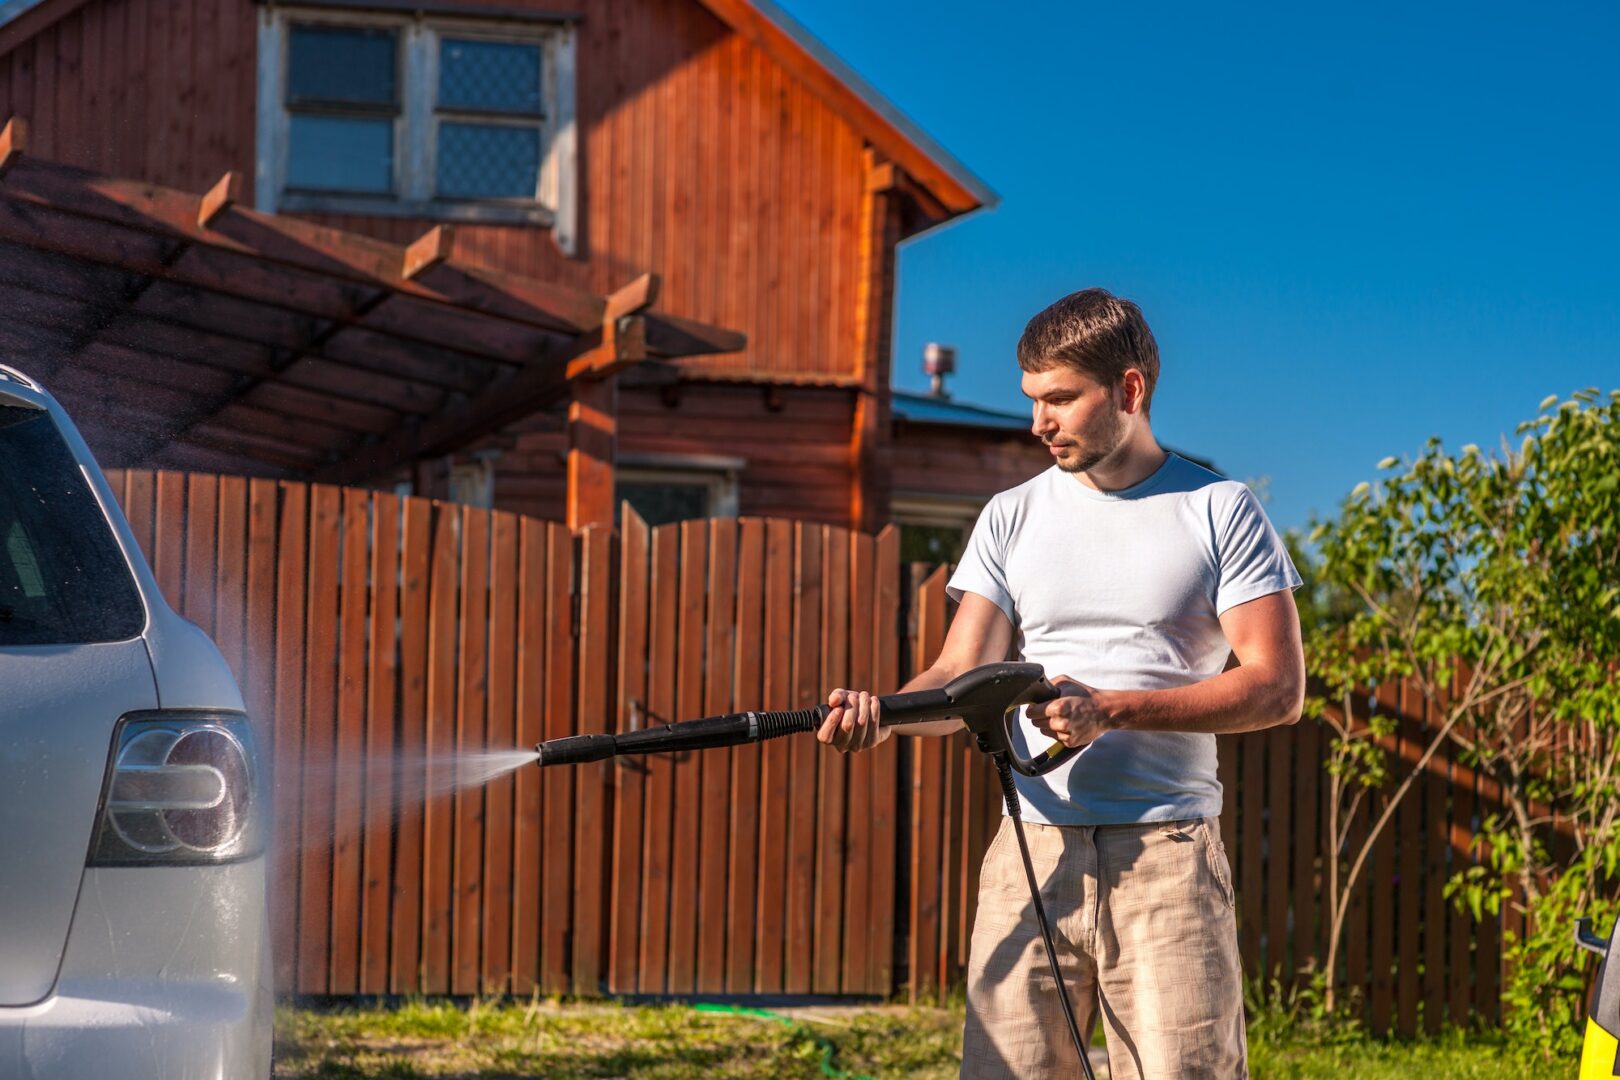
Another consideration when washing a car is avoiding washing it under a blazing Sun. You want to wash a car in the shade, if possible. Washing your car during high Sun or when the car’s surface is hot increases the risk that soap, degreaser, or water will dry on its surface, which can cause damage. If you’re washing in the Sun, rinse the car often, making sure nothing dries on the car until you are drying the car.
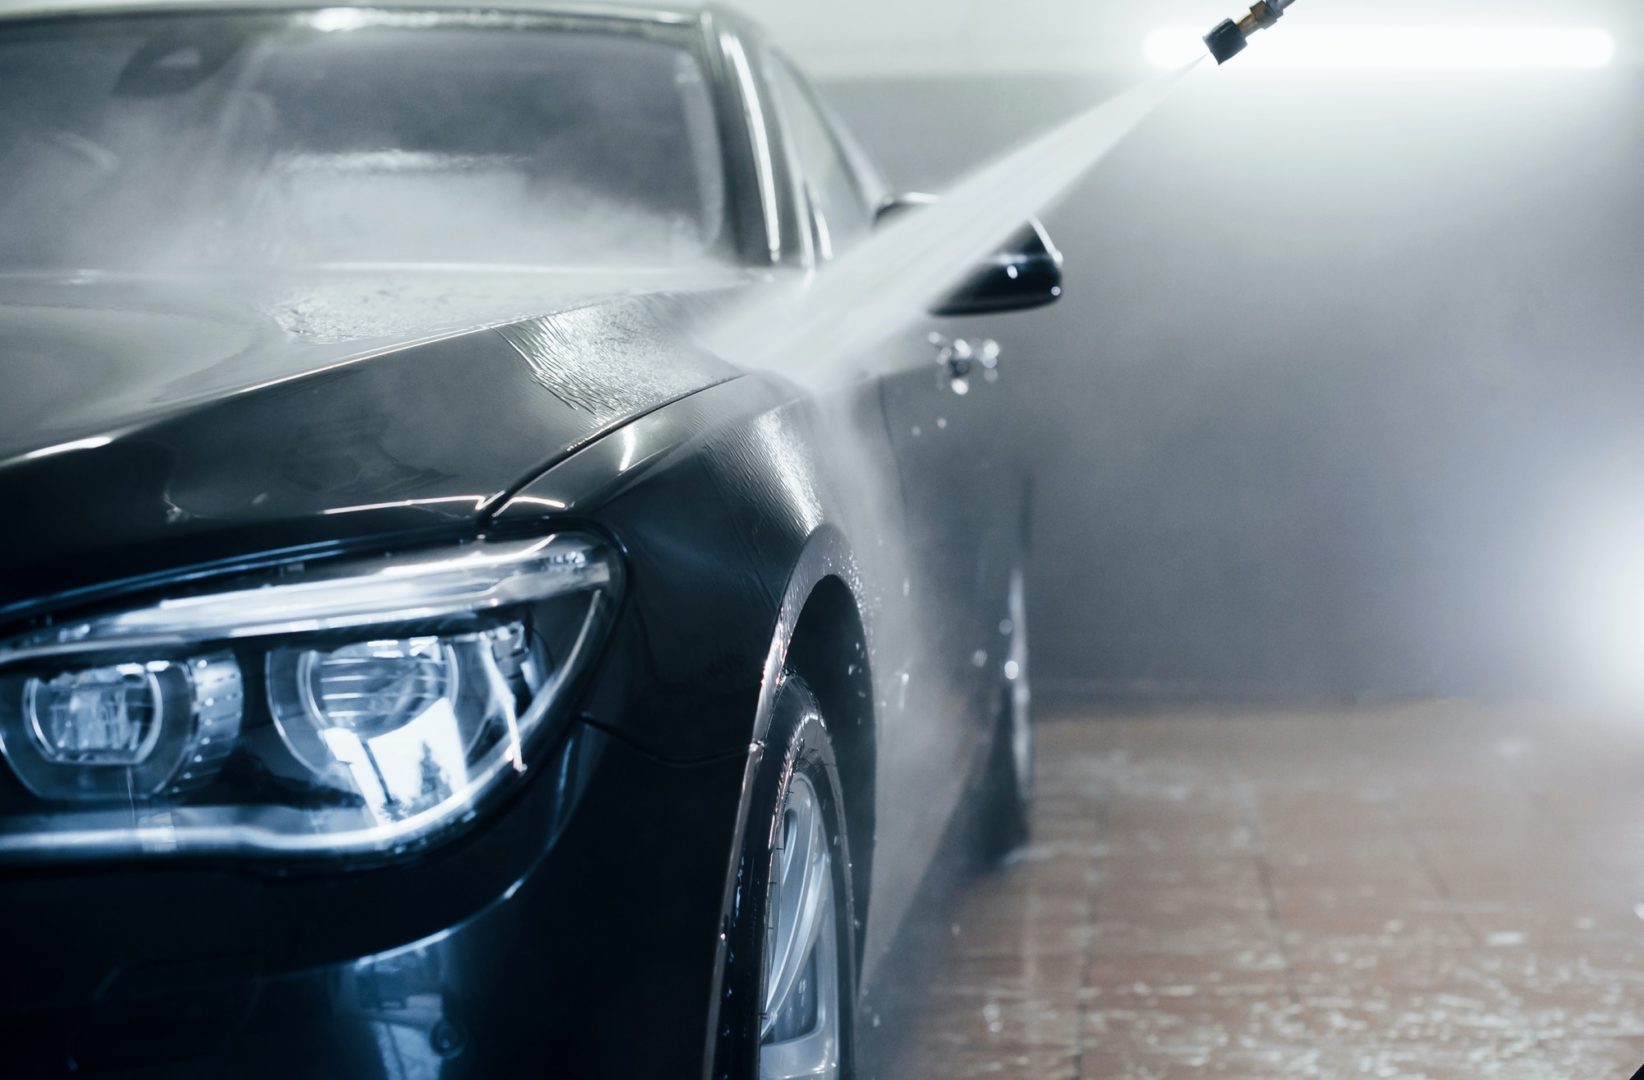
Wash The Car With Running Water
You need running water when you wash a car to keep it looking new. Running water helps you remove dirt and debris from the entire vehicle safely, which helps you avoid adding swirl marks to the car’s finish while you wash the car.
You Will Need Energy to Wash Entire Car
You will need energy and focus for the one-to-three hours it takes to wash an entire car. Don’t wash a car when you’re tired, lack focused, are hung-over. Drink fresh water. Maintain proper technique. Hand-washing a car is a physically challenging, and a momentary lapse in focus may lead you to scratch the paint.
The Best Way to Wash a Car
The best way to wash your car to keep it looking new is the improved version of the two buckets car washing method that we will present to you below.
This car washing routine focuses on safely removing as much of the surface dirt and grit from your car as possible before a microfiber wash mitt, pad, or cloth ever touches it, and keeping the wash media and soap bucket as free of dirt and grit as possible during the wash.
We present this car washing routine here, matter-of-factly, like a useable checklist.
Preparation
- Park car in a cool, safe, shady space
- Close your car’s windows
- Make sure your car’s surface is cool to the touch; if it isn’t, wait
- Gather your car washing media and tools
- Fill one of the buckets two-thirds of the way with soap, add about three ounces of high-quality car shampoo, bubble-it in with a quick shot of water from the sprayer; dilute according to the packaging’s instructions; this is your soapy water bucket
- If you’re using multiple microfiber mitts, pads, or washing towels, fill the second bucket two-thirds of the way with water, put a Grit Guard fins down grate up at the bottom of the bucket, then your wheel brush; this is your wheels bucket
- If you’re using multiple wash media when washing a car, use the third of the buckets to collect your dirty wash pads and towels; this is your dirty towels bucket
- If you’re using only one microfiber wash pad, place Grit Guards in all three of the buckets, and fill the third bucket two-thirds of the way with water; this is your rinse bucket

- Place your washing mitt(s) or pad(s) in the soapy water bucket
- Connect and test your pressure washer, if using one
- Connect and test your water de-ionizer, if using one
- Prepare rinseless wash solution, if using one, by mixing one capful of solution into a 32 oz spray bottle
- Prepare degreaser solution in a 32 oz spray bottle as per the manufacturer’s suggestions (usually 10:1, so about 29 ounces of water and 3 ounces of degreaser in a 32 ounce spray bottle)
- If you’re not using a water de-ionizer, prepare a drying aid. Typically mix 10:1, so as above, or per its instructions.
How to Wash a Car Without Marring
- Make sure your vehicle is cool to the touch and not in hot direct sunlight.
- Work steadily, mindfully, with full awareness of your footing and surroundings; be safe; protect yourself and your vehicle; drink plenty of fresh water.
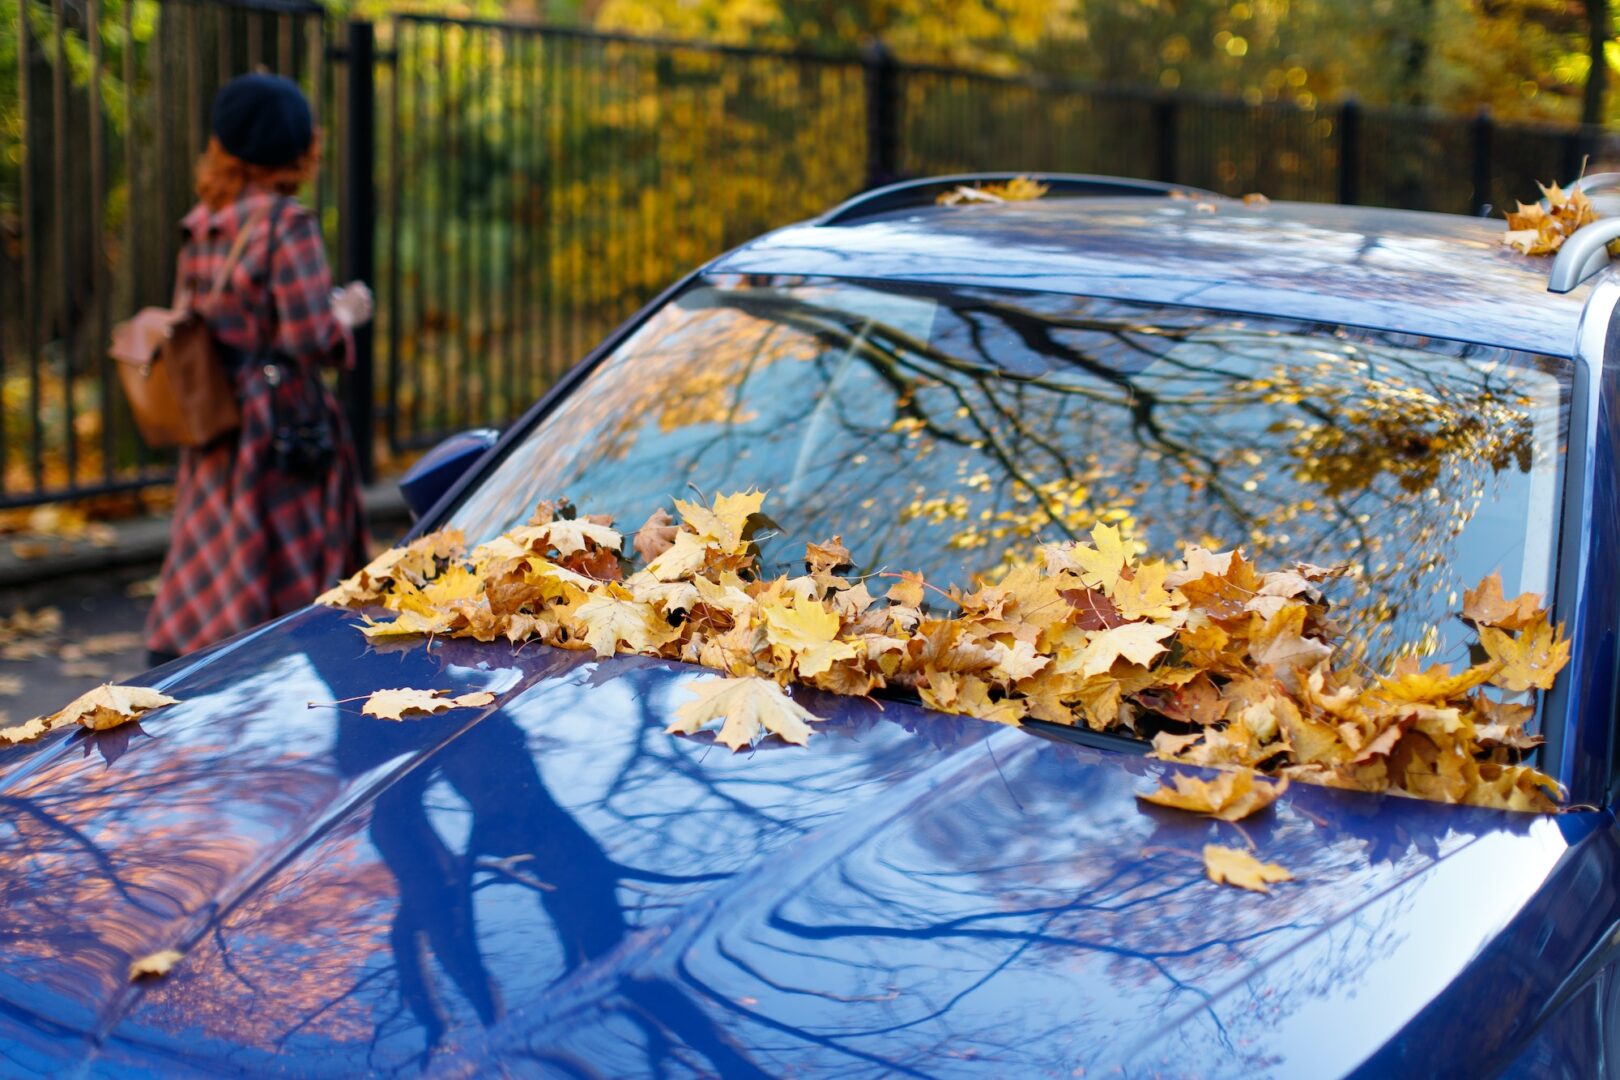
- Remove from your car any twigs or leaves by hand or with a leaf blower.
- Spray rinseless wash pre-soak solution liberally to the entire car; enough to cover it, but not enough for it to run. Pay special attention to areas with bird poop or extra dirt and grime. If you don’t have pre-soak solution, use de-ionized water instead. If you don’t have de-ionized water, use regular water.
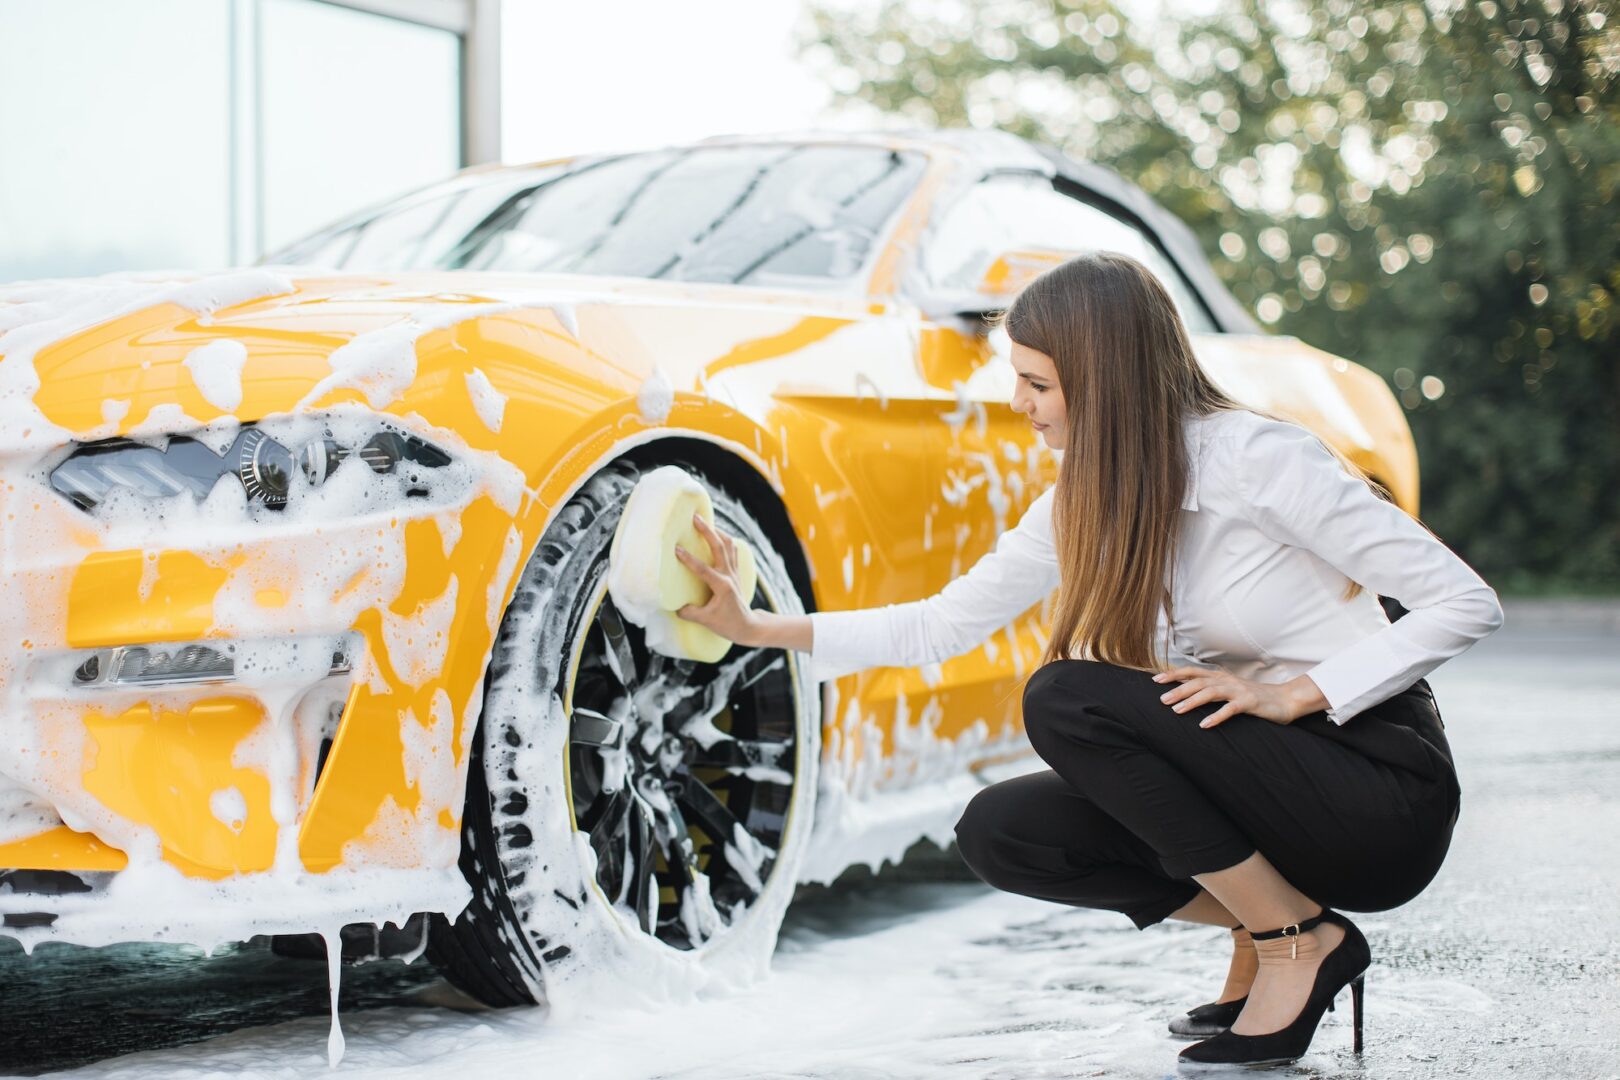
- While allowing the pre-soak solution to work, begin working on your wheels, one at a time.
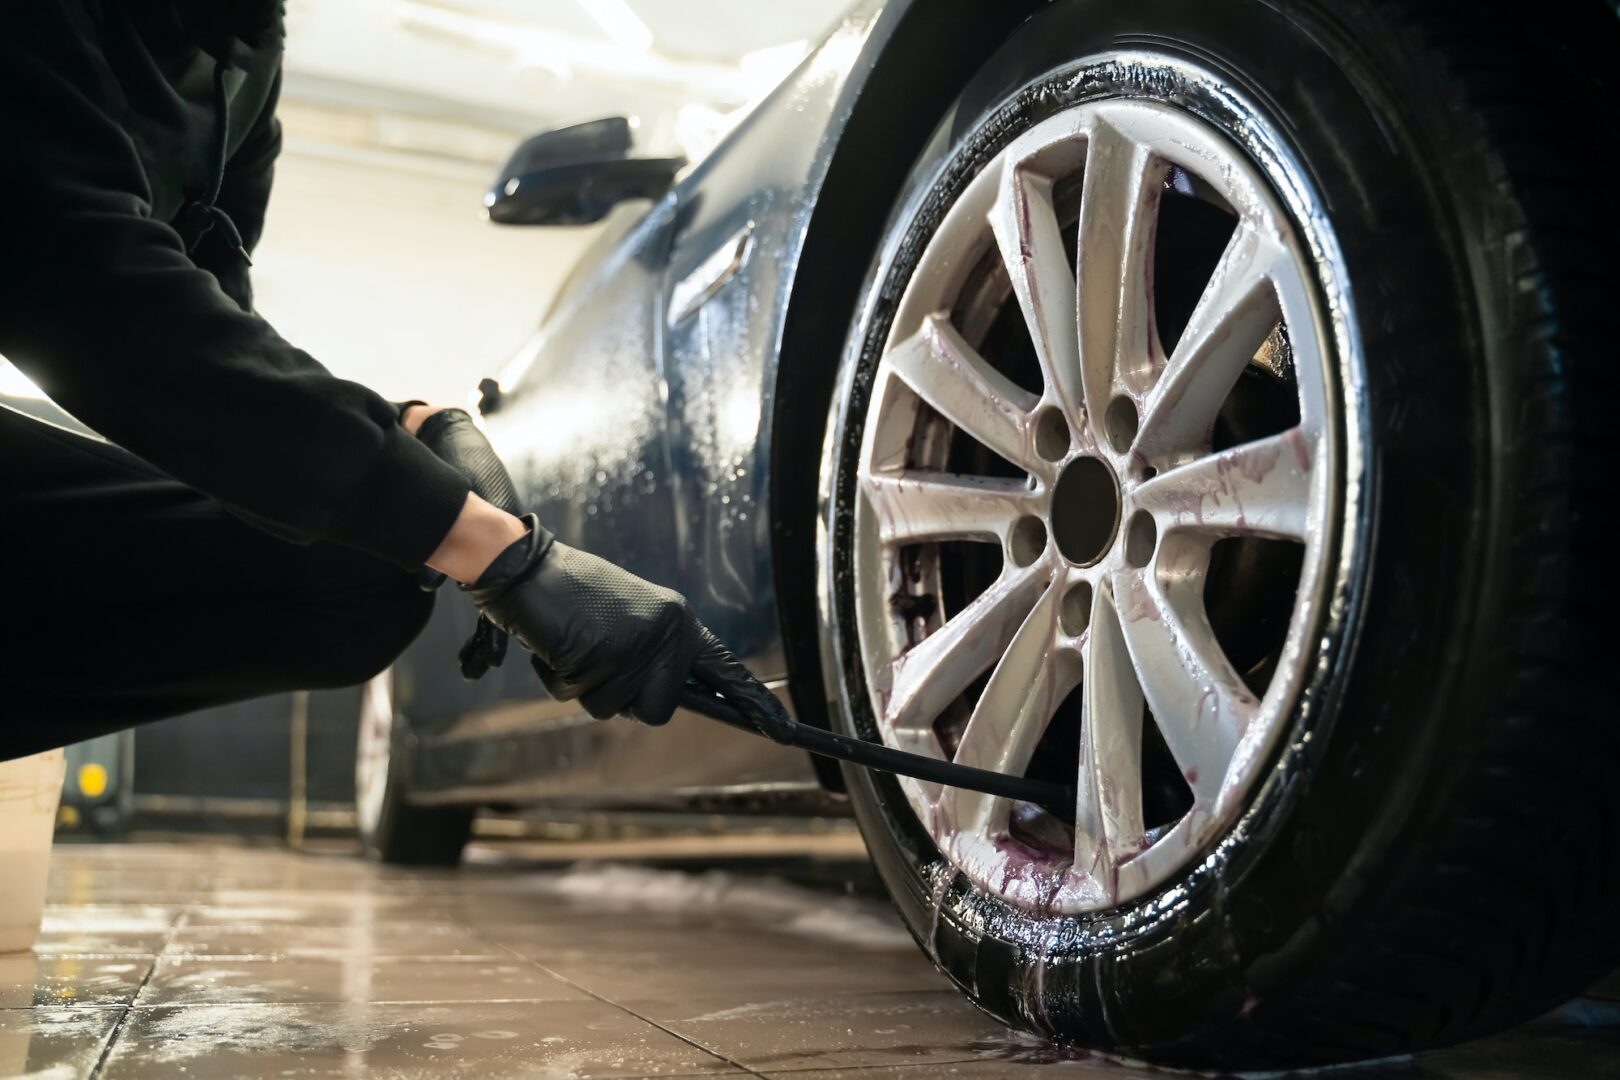
- Spray wheel and tire cleaner liberally on to your first wheel.
- Scrub tire face with your stiff-bristle tire brush; if you don’t have a dedicated tire brush, use a dedicated towel.
- Scrub your wheel with your dedicated wheel brushes. Rinse your the brushes often in the wheels and tires bucket. If you want a more detailed cleaning, maneuver the brushes between and behind the spokes. Add cleaning solution as needed.
- Rinse the just-washed wheel.
- Rinse the rest of the car before moving onto the next wheel.
- Lightly spray degreaser on any painted surfaces that still have dirt and grime or bird poop after the rinse; e.g., behind wheel wells. Wait 30 seconds and rinse off the degreaser.
- Wash the second wheel and tire by following steps 6-9 above.
- Rinse the car with the pressure washer, if available, or the jet-setting from the hose nozzle. The goal is to remove all visible dirt and grit from the car using only water.
- Lightly spray degreaser on any painted surfaces that still have dirt and grime or bird poop; you may also spray and soak splattered bugs at this point; wait a minute then rinse.
- Wash the third wheel and tire by following steps 6-9 above.
- Rinse the car with the power washer again, if available, or the jet-stream setting from the hose nozzle. The goal is to remove all visible dirt and grime from the car using only water; focus on removing any splattered bugs using only water.

- Repeat step 14, if needed.
- Wash the fourth wheel and tire by following steps 6-9 above.
- Rinse the car with the power washer again, if available, or a jet-stream from the water hose nozzle. Concentrate on removing any remaining bug splatter or tar; check the forward-facing side of the side mirrors, and right above the windshield; if some bugs or tar remain, apply bug-and-tar remover to the affected areas; if you don’t have bug and tar remover, you can re-apply degreaser.
- Power wash any remaining bug splatter or tar. If stubborn bug splatter or tar remains, repeat the step above until all is gone before proceeding to the next step.
- Grab a microfiber mitt or pad from the soapy water bucket and wash one half of the car’s roof with one side of the mitt and the other side of the roof with the other side of the mitt. Be gentle when you wash a car; just guide and glide the mitt above the paint. If you’re using high-quality car shampoo and stains remain, don’t scrub; you’ll need other methods to clean that spot safely. Also, be extra careful near antennas, but do wash them gently during this step. If the roof is very dirty, use two wash pads for this step. If you only have one, flip and rinse it often.
- Take that same microfiber pad or cloth, and wash the exterior glass, being extra careful near wipers.
- If you’re using multiple wash pads or towels, place this now used wash media in the dirty towels bucket.
- If you’re only using one wash pad or towel, dunk the wash pad or towel in the rinsing bucket. Rinse the wash pad or towel vigorously. Use the Grit Guard in your rinse bucket as a washing board to scrub your wash pad clear of any dirt or grit still in the cloth. Once clean, wring the wash media and dunk it in the soapy water.
- If it’s sunny, lightly rinse the car using de-ionized water, when needed, to keep the soap from drying on the car. If no de-ionized is available, lightly spray drying aid over the already cleaned areas, and rinse with regular water.
- Take a new or freshly dunked soapy microfiber mitt or pad from the soap bucket and wash the hood. Be gentle; use just the weight of the soap-filled pad as you glide it across the paint. Flip the wash media as needed. Place the now-dirty wash media in the dirty towels bucket, or rinse it in the rinsing bucket.
- Rinse as per step 25, if needed.
- Take a new or freshly dunked soapy microfiber mitt or pad from the soap bucket and wash a side of the car. Start with the area between the car roof and doors. Wash this section by following the contours of the body panels; for instance, start at the top of the arc by the doors, and follow that panel and curve all the way to the front, where that roof rail meets the hood; then wash back again, following the same roof arc but now toward the rear of the car, all the way to the area by the tail-light and deck-lid. Now wash following that same body panel back toward the front of your car, but this time rather than redoubling your path and taking the “Y” back toward the roof, follow it toward that shouldered section of the body right beneath the door windows and above the vertical panels of the doors. Pay special attention to the side-mirror; be cautious; follow the hump all the way to the front corner of the car, near the headlight.
- Flip the wash mitt and clean the fender from the top to the bottom. If you are using multiple wash mitts, continue cleaning the rocker panel or trim on that side of the car. Then place this car wash mitt in the dirty wash mitt bucket. If you’re only using one wash mitt, save washing the rocker-panel until the very end, and rinse as per step 25.
- Get a wash mitt from the soapy water bucket and clean each door on this side of the car from the top down; use one side of a wash mitt per door. Place the dirty wash mitt in dirty towels bucket, or rinse as per step 25.
- Rinse the car as needed.
- Repeat steps 28-31 on the other side of the car.
- Get a fresh wash mitt and clean the rear deck-lid, taillights, license plate, and bumper, flipping, replacing, or washing the wash mitt as needed. Be extra careful near reverse cameras and badges. Place the dirty wash mitt in the dirty towels bucket, or rinse it as per step 25.
- Get a fresh wash pad and clean the headlights, front bumper, and grill. Use a detailer’s brush, if available, to clean the grill. You may also use the brush to clean badges and emblems.
- If you only used one pad or mitt, clean the rocker panels.
- Rinse the car with a power washer or a strong jet from the hose to remove any remaining dirt particles to not risk scratching the paint while drying.
- Rinse the car with de-ionized water to eliminate the risk of water spots; if you don’t have a water de-ionizer, spray drying aid over the entire car, then rinse it off.

- Blow-dry the car, paying particular attention to the door sills, trunk sills, handles, wheels, grills, badges, side mirrors, and emblems. A bit of water remaining is fine.
- If you used de-ionized water, continue with the next steps let the car air dry for a few minutes. If not, towel dry using a high-quality microfiber drying towel. While some people recommend waffle weave microfiber towels for this step, we find higher-nap, fluffier drying towels are best.
- Open your car’s doors, spray the door sills with rinseless wash solution, and wipe it clean with a damp microfiber towel. Dry with a second towel. Shut the doors.
- Apply trim dressing on trim dressing applicator or another damp microfiber towel and work the dressing into your tires and trim. Do not over-apply, as this may cause dressing to sling to your paint from your tires, and attract dirt to your tires and trim.
- Apply sealant wax to your wheels by spraying it onto a microfiber towel and massaging the solution into the wheel.
- Dry the paint with dedicated plush microfiber drying towels. One large towel is enough for a car.
- Apply synthetic wax sealant to the car’s paint surface by spraying the wax onto a clean, plush microfiber towel, then spreading it evenly. You will need two to three sprays in your towel for an area the size of a door. Apply evenly one panel at a time, then turn the towel over to the dry side and buff the area lightly. Repeat this process until you cover the lights and painted surfaces over the whole car.
- Touch-up the glass with rinseless wash solution or glass cleaner and at least two microfiber glass towels. Work one pane at a time. Treat windshield and back window as two panes each. Spray the first towel liberally with rinseless solution. Wipe the glass in a criss-cross pattern. Immediately follow by wiping that same glass with a second, dry glass towel. Ideally, use a third glass towel to go over that same pane with light “polishing” pass to make the glass streak-free. Repeat this method until you have touched-up all glass panes, i.e., wash with a wet first towel, dry with a dry second towel, and super-dry with a third. Be extra gentle with side-mirror glass, as it scratches easily.
- Use air blower and drying towel for a second drying session. Carefully focus the air stream on body gaps, lights, emblems, door-handles, etc. As water escapes, sop it up with the drying towel. If you don’t use a leaf blower, just dry thoroughly one last time. Open and shut doors to jar water loose, and dry drips with the towel.
- Clean and put away the gear.
- Wash towels and microfiber wash media.

Suggested Products and Services
Amazon affiliate links to the tools and solutions we recommend and use to the perform the described car washing routine are below. If you purchase any of these items after clicking on their link below, this blog will generate a 3-4.5% commission at no added cost to you.
If you are in the Los Angeles area and want a professional IDA member car detailer to wash your car in this way for you, please give us a call or visit our Mobile Car Washing Services page to learn more and book.

![]()

![]()

![]()

![]()

![]()

![]()

![]()

![]()

![]()

![]()

![]()

![]()

![]()

![]()

![]()

![]()

![]()

![]()

![]()

![]()

![]()

![]()

![]()

![]()

![]()

![]()

![]()

![]()

![]()

![]()

![]()